Showing posts with label vegetable. Show all posts

11/4/15

Mini Chicken Pot Pies with Herb and Cheese Biscuit Toppers


 After an amazingly warm September and October, I'm sitting at my kitchen counter and the snow is beginning to fall.  Chicken Pot Pie is the ultimate cold weather dish, and this update on the classic will get you in the mood for the winter weather coming. Mini Chicken Pot Pies with Herb and Cheese Biscuit Toppers are filled with comfort food goodness!


I've given two ways to make this dish: a busy-day canned soup variety that takes a few minutes to dump and bake and then a from scratch recipe for those who have a little more time. Either way, this dish is hearty and will make even the pickiest eater happy! 


Mini Chicken Pot Pies with Herb and Cheese Biscuit Toppers
A Bountiful Kitchen

filling:
1 tablespoons butter or olive oil
2 carrots ( or about 1 1/2 cups baby carrots, cut up)
1 cup of celery, chopped (or more carrots if you aren't a fan)
1 cup broccoli, chopped
1 cup onion, chopped I like sweet onions but white or yellow work as well
3 cups cooked, chopped chicken (or rotisserie chicken, cut up)
1 tablespoon dried tarragon, optional 

sauce:
6 tablespoons butter
1/2 cup sifted flour
2 teaspoons chicken stock concentrate*
1-2 cups water or milk
-OR-
1 can cream of chicken soup
1 can milk

Cream Biscuit Topper
2 cups flour
1 tablespoon baking powder
1 teaspoon  baking soda
1 teaspoon salt
1 1/2 c cream
3 fresh basil leaves, chopped (or other herbs, about 2 tablespoons)
1 cup cheese, grated

Prepare the biscuits (directions below) and set aside.
Pre heat the oven to 375 and set rack in middle of oven. 

Saute carrots, celery, onion and tarragon together in a large stockpot for about about 3-4 minutes. Remove from heat add chopped broccoli, place lid on pan and let sit for 5 minutes.
In another pan, over medium heat melt 6 tablespoons butter and add 1/2 cup sifted flour. Whisk until smooth. Add 1 teaspoon salt and pepper each and 2 teaspoons chicken stock concentrate. Whisk until smooth. Slowly pour 1 1/2 cups water or milk into pan whisking until smooth and bubbly. If the mixture gets too thick, add a little more milk or water. The mixture should be the consistency of gravy. Pour this mixture over the cooked vegetables.
If you are using the soup method, add the soup and can of milk directly to the vegetable mixture after the vegetables are finished sitting for 5 minutes covered. Mix until the soup and milk are blended into the vegetables. Do not add salt to this mixture until you taste, the soup usually has enough salt included. 
Add cooked, chopped chicken to the vegetable/gravy mixture. 
Place ramekins on a cookie sheet.
Fill greased ramekins (about 8) or a 9x13 pan with vegetable, chicken and gravy mixture. Top each with a biscuit. Bake for about 12-15 minutes or until mixture is bubble and biscuits are golden. 

prepare biscuits:
Mix all dry ingredients together in large bowl. Add cream all at once, fold until dry mixture is absorbed. Fold in herbs and cheese.  If the mixture is too dry, add a tablespoon or two of additional cream. Pat out on floured surface to about 3/4 inch thick. Cut with round biscuit cutter or glass. The biscuit recipe usually makes about 12- 2 1/2 inch biscuits. 

Tips:
-*Stock concentrate is sold in many forms. It enhances the flavor of the gravy. Knorr and Swanson both sell stock concentrate. Knorr is sold in a little "cup" about 4 cups to a package the little cups are equal to about 1 tablespoon of flavoring ( one of the cups will be perfect in this recipe) . Swanson sells their product "Flavor Boost" in a box with 8 liquid packets included. You can also buy stock concentrate in jars at food specialty stores. These are usually sold in 2 cup (actual 2 cup measurement) jars that need to be refrigerated after opening. I always look for products that are MSG free. A crumbled bullion cube will also work.
-The biscuit can be made without the herb and cheese added. I used Smoked Gouda, but any cheese will work.
-You may use any combination of veggies. I strongly suggest using onions because of flavor, but green beans, peas, corn may be substituted for the other veggies.
-I frozen the leftovers by placing the entire ramekin in a Ziplock bag in the freezer. To use, let sit on counter for about one hour. Heat, covered for about 45 minutes at 350.
-To make this "quick and easy", use a can of soup and milk and a can of biscuits in place of the roux and cream biscuits. 

10/9/15

Skinny Poolside Dip aka COLLEGE GAMEDAY Dip!


If you're a UTE fan, you're in heaven right about now. Winning our Pac 12 season opener for the first time EVER and hosting ESPN's COLLEGE GAME DAY  here in our own backyard for the first time since 2010 calls for a celebration!  This Skinny Poolside Dip is tasty, fresh, simple and perfect for the game tomorrow.


You know how the word "skinny" always catches a woman's eye!?!  And the words:  skinny, pool and dip all together in one recipe name? That was all it took to grab my attention. When I saw this recipe for Skinny Poolside Dip on Pinterest,  I immediately thought of all the times I had packed my pool bag with Red Vines, Cheetos and Diet Coke.

One look at this recipe and I knew it was a keeper. I must admit, I have a gift.  It's a small gift, insignificant to most, but very helpful if you're a food blogger. I can usually look at a recipe and tell you if it's going to be worth trying. This dip? One look and I knew it would be good.  I made a couple of modifications (I know, you're shocked) to make it my own and more appealing to our family.


I'm not sure why this dip is called Skinny Dip? The first recipe I looked at was made with Neufchatel otherwise known as low fat cream cheese. Ok, makes sense. That would qualify as Skinny Dip (kind of). But the recipes using regular cream cheese? Well, the word "Skinny" should probably not be attached to that recipe ;)

I loved the ease of this recipe. Start to finish, this recipe takes about 10 minutes, if you are grilling corn. Otherwise,  if using frozen corn, it's close to 5 minutes total.
It's absolutely delicious and a dip that most will love.
Oh, I almost forgot.. GO UTES!!!


Poolside Skinny Dip
modified from Buns In My Oven

8 oz cream cheese, room temperature (regular, low fat or Neufachatel)
2 red bell peppers, cored and diced
3 large ears fresh corn, cooked or 2 cups frozen corn
1 cup sweet onion or red onion, diced
1 jalapeno, seeded and diced
2 tablespoons dry ranch dressing or
pepper to taste

In a large bowl, fold cream cheese, red peppers, corn, onion,  jalapeno, and ranch dressing mix together. Season with ground pepper.
Serve immediately or refrigerate until ready to eat. Serve with crackers, tortilla chips or cut up vegetables.

Tips:
-The dip will set up and be difficult to scoop right out of the refrigerator. Let sit at room temperature for a few minutes prior to serving.
-If fresh corm is not available, use one can of corn or 2 cps frozen corn, do not thaw before using.
-If grilling corn, husk corn. Sprinkle with a little salt and pepper. Butter the corn if desired, not necessary). Wrap tightly in a piece of foil. Place on grill and cook over med high heat for about 10 minutes.


If you're looking for more appetizers,  here are a few of our  favorites...


Cowboy Salsa Everyone loves this salsa!


Buffalo Wing Dip The ultimate guy dip...


Roasted Red Pepper Hummus nice if you're trying to eat healthy!


8/3/15

Favorite Summer Pasta Dinner


You know those nights when you just cant bring yourself to cook, but the thought of eating drive thru makes your stomach turn?? This is my simple solution. It's called Favorite Summer Pasta (and anything you have in the fridge) Dinner.


Here's the deal. Look in your fridge or freezer. Pull out any type of vegetable. It can be broccoli, carrots, peppers, spinach, green beans, asparagus. You'll need about 2 cups. Then some protein. Chicken goes well in this dish. Or you can use just about anything you have. I'd probably pass on Spam, but almost anything else goes. Shrimp, turkey, bratwurst, leftover steak, pork, even ground meat. Or if you're not a meat lover, you can simply add more veggies. Tofu (a firm texture) folded into this would be wonderful too!


I used Harmons brand of pasta, which I highly recommend. It has a comparable quality to that of pasta made in Italy. Trust me on this, I've carried home bags full of dried pasta from Italy on past trips. Once I realized for about the same price I could purchase the imported items here, I filled my carry-on with other items.


Get yourself a pot and grow a few fresh herbs.
Joy in a pot. 
If you have access to fresh tomatoes, use them! If you don't have any fresh tomatoes, use boxed or canned. And the fresh herbs? If you don't already have an herb pot, vow to grow one next summer.
In the amount of time it takes you to run to In and Out you can make this at home!
You're going to love it.
Promise.


Favorite Summer Pasta
A Bountiful Kitchen

1/2 lb Harmons pasta, any shape will do, I used Casarecce pictured above
2-14 oz or one 26.46 oz carton Pomi brand chopped tomatoes,
or about 28-30 oz chopped fresh tomatoes in their own juice
2 cloves fresh garlic cloves, minced
1/2 cup fresh basil
2-3 tablespoons each fresh chopped oregano, rosemary, thyme
1 tablespoon olive oil
1 teaspoon salt or to taste
fresh ground pepper
1/2 teaspoon sugar
1/4 cup cream (optional)
2 cups chopped fresh vegetable such as asparagus, broccoli, green beans, peppers, etc
2 cups chicken (or other meat), chopped into bite size pieces and cooked
1/2 cup grated Parmesan or Romano cheese, additional for topping pasta

Cook the pasta according to package directions until al dente, drain and set aside.
Pour the chopped tomatoes in a large saucepan. Simmer over medium high heat. Add garlic, herbs, olive oil, salt and pepper and sugar. Simmer for about 15 minutes or until reduced a bit.
Meanwhile, chop vegetables and place on plate and microwave for about 2 minutes, covered or until the veggies are barely cooked and bright in color. Toss into sauce and add chicken as well.
Add cream and cheese and cook for another minute. Remove from heat. Toss sauce with cooked pasta. Serve immediately with additional grated cheese on top.
Serves about 4 as a main dish or 6 as a side dish

Tips:
-This recipe is easy to double. Simply double the sauce and cook the entire package of pasta. Doubled, it will serve 8.
-It is best to use fresh vegetables and fresh herbs in this recipe. Although, the Pomi brand (purchased at Harmons) chopped tomatoes work very well in place of fresh tomatoes. if using fresh tomatoes, make sure to use a variety that will yield a lot of juice. I do not recommend using fresh Roma's in this recipe, they don't typically yield enough juice.
-I found the Harmons brand pasta needed a bit more cooking than the package directions. I cooked the pasta for about 10-11 minutes total for a perfect al dente texture. Make sure to test this in your kitchen. Depending on size of pot, how much water and pasta are in the pot, how hard the water is boiling will all be factors in how quickly pasta cooks. Do not over cook!


2/28/15

Smashed Potatoes and Buttermilk Fried Chicken


What says comfort more than fried chicken? This dinner takes just a few minutes to cook after the chicken soaks in buttermilk. I usually place the chicken in the buttermilk early in the day (If the chicken is frozen, I just plop it in the buttermilk as-is.


If you are a little skeptical about cooking fried chicken you're going to love this recipe. It's easy to put together and you can fry batches and then place the cooked chicken in the oven to keep warm. I put the potatoes in the oven about an hour before eating dinner. Then just steam the veggies while you're saying a blessing. What could be easier than this? Ok, besides KFC.


And the leftovers (if you have any)?
You might be tempted to give up your firstborn for a piece of this cold leftover fried chicken.
I'm serious.


Southern Buttermilk Fried Chicken with Smashed Potatoes
original recipe adapted from Mad Hungry  originally posted here

Chicken:
1 quart buttermilk or milk
2 tablespoons Tabasco or other hot sauce
about 4-6 chicken breast halves
1 cup all-purpose flour
1 1/2 teaspoons coarse salt, plus a little more for sprinkling
1/2 teaspoon freshly ground black pepper
1/4 teaspoon cayenne pepper
1/2 cup vegetable oil

Smashed Potatoes:
12 small red potatoes, or white will also work
olive oil
coarse ground salt
ground pepper
butter

For potatoes:
Pre heat oven to 350 degrees.
Wash and dry all potatoes, remove any eyes from potatoes with paring knife. 
Grease a 9x13 or jelly roll pan with cooking spray. 
Rub each potato with a bit of olive oil. Sprinkle with salt.
Place pan in oven and bake potatoes for about 1 hour  or until knife inserted in center of potato easily goes through potato. 
Remove and Smash each potato with a fork. Sprinkle each potato with a little more salt and pepper. Drizzle with additional olive oil. If desired, spoon about a teaspoon of butter on each potato, top with Parmesan cheese, grated cheddar, chopped green onions if desired. Or just serve with olive oil and salt! Keep warm in 200 oven until ready to serve. 
Tips:
-Use whatever amount you need for this recipe. Usually, about 2-3 small potatoes per person. 

Early in day:
In a 9x13 baking dish or gallon sized Ziplock bag, stir together the buttermilk and Tabasco. Place the chicken in the liquid mixture and leave as long as possible. (I soaked the chicken overnight. Place in refrigerator.)

When ready to cook chicken:
In a plastic or paper bag combine the flour, salt, pepper, and cayenne.
Shake the chicken pieces two to three at a time, in the flour. Repeat with the remaining chicken.
In a skillet heat one half inch of oil over medium high heat. Test with a tiny bit of chicken. If it bubbles immediately, it is hot enough.
Place the chicken into hot oil. Distribute as many pieces as will fit in a single layer in the pan, leaving one half inch between pieces. Leave to fry undisturbed for about seven minutes. Lower the heat as necessary to prevent excess browning. The oil should continue to bubble steadily. Turn the pieces and cook for an additional seven to ten minutes.
Remove to a plate lined with paper towels to drain. Repeat process to cook remaining chicken. To keep first batch warm, place on a rimmed baking sheet in a 200 degree oven.

Tips:
-The original recipe calls for two cups of oil. I used about a quarter to a half inch of oil in the bottom of the pan.
-I used 4-5 boneless chicken breast halves. 
-This was delicious served cold as a leftover the next day.

2/7/15

BLT Pasta Salad with Buttermilk Ranch Dressing


Is there a better combo than BLT?  Such a simple idea combining salty, crunchy, smooth and creamy in a sandwich. The colors, the flavors, and the textures are what make this sandwich a favorite for so many. This recipe combines all of those amazing flavors into a simple and colorful salad!
If you take time to do the little things while making this salad - fry and chop the bacon (instead of buying pre-cooked bacon bits), make your own ranch dressing with fresh herbs and garlic (instead of using a bottle of ranch),  I promise you will taste the difference.
Oh, and the homemade Ranch dressing? It's hard to go back to bottled once you make your own.
Sometimes, it's the little things that make all the difference.


BLT Pasta Salad with Buttermilk Ranch Dressing
A Bountiful Kitchen
print recipe

Salad:
1/2 lb bacon
1 large head Romaine lettuce, washed and dried (yield about 16 cups of loosely packed lettuce)
1 lb Grape tomatoes or Roma tomatoes
1-1 1/2 lb cheese-filled ravioli ( I use a 1 lb 4 oz package)
1-2  tablespoons olive oil
2 tablespoons dry Ranch dressing mix

Buttermilk Ranch Dressing
adapted from The Huffington Post 

1/2 cup well shaken buttermilk
2 tablespoons sour cream
2 tablespoons mayo
1 teaspoon chopped fresh: tarragon, dill, parsley, chives (all or a combo of these)
1 clove garlic, minced
1/4 teaspoon Dijon mustard
two dashes Tabasco or other hot sauce
Coarse sea salt and fresh ground pepper to taste

Prepare dressing:
Place all of the dressing ingredients in a jar. Shake until blended well.
Refrigerate until ready to serve. If you have an immersion blender place all of the ingredients in a jar and pulse until the herbs are chopped fine.

Salad:
Cook bacon over medium heat until crisp.  Remove bacon from pan and place on paper towels. Pat any remaining grease off of bacon. Place on a cutting board and chop. Set aside.
Cook the pasta according to package directions. Do not overcook. Rinse with cold water, drain. Toss the pasta with 1-2 tablespoon olive oil and 2 tablespoons prepared dry ranch dressing mix. Refrigerate until ready to use.  Let the pasta cool completely before adding to the salad, or the pasta will wilt the lettuce.
Cut the lettuce into bite size pieces.
Slice the grape tomatoes in half, or if using Roma tomatoes, cut into chunks.
Arrange the lettuce in a large bowl. Place the tomatoes over top of the lettuce and top with cooled pasta. Refrigerate until ready to serve.
When ready to serve, toss the salad a bit,  sprinkle with bacon and drizzle with fresh ranch. Serve salad with additional dressing on the side.
Serves12 as a side dish

Tips:
Dressing:
-When purchasing buttermilk, I try to buy brands that are thicker in texture. Locally (Utah) my favorite brand is Winder Dairy. Their buttermilk is significantly thicker than other brands. If you are concerned about using up all of your buttermilk, try making ABK's buttermilk pancakes, buttermilk biscuits, buttermilk syrup, blueberry buttermilk scones...search "buttermilk" in the search bar on the right side of the main page.
-I do not recommend using dry buttermilk for this dressing.
-I usually double the dressing recipe so I can have leftovers for other salads.
Salad:
-You may use any type of filled pasta in this salad . I like cheese or a combo of spinach and cheese  filled ravioli, but tortellini also works well.
-You may add additional lettuce to this salad to create more servings. If doubling this recipe, double the lettuce but only 1 1/2 the bacon, tomatoes and pasta. Any type of lettuce may be used ( I have even used spinach) I like Romaine because it has a very firm texture, which makes it a good lettuce to support the heavy pasta and tomatoes in this dish. I also like Romaine's dark green color.


1/30/15

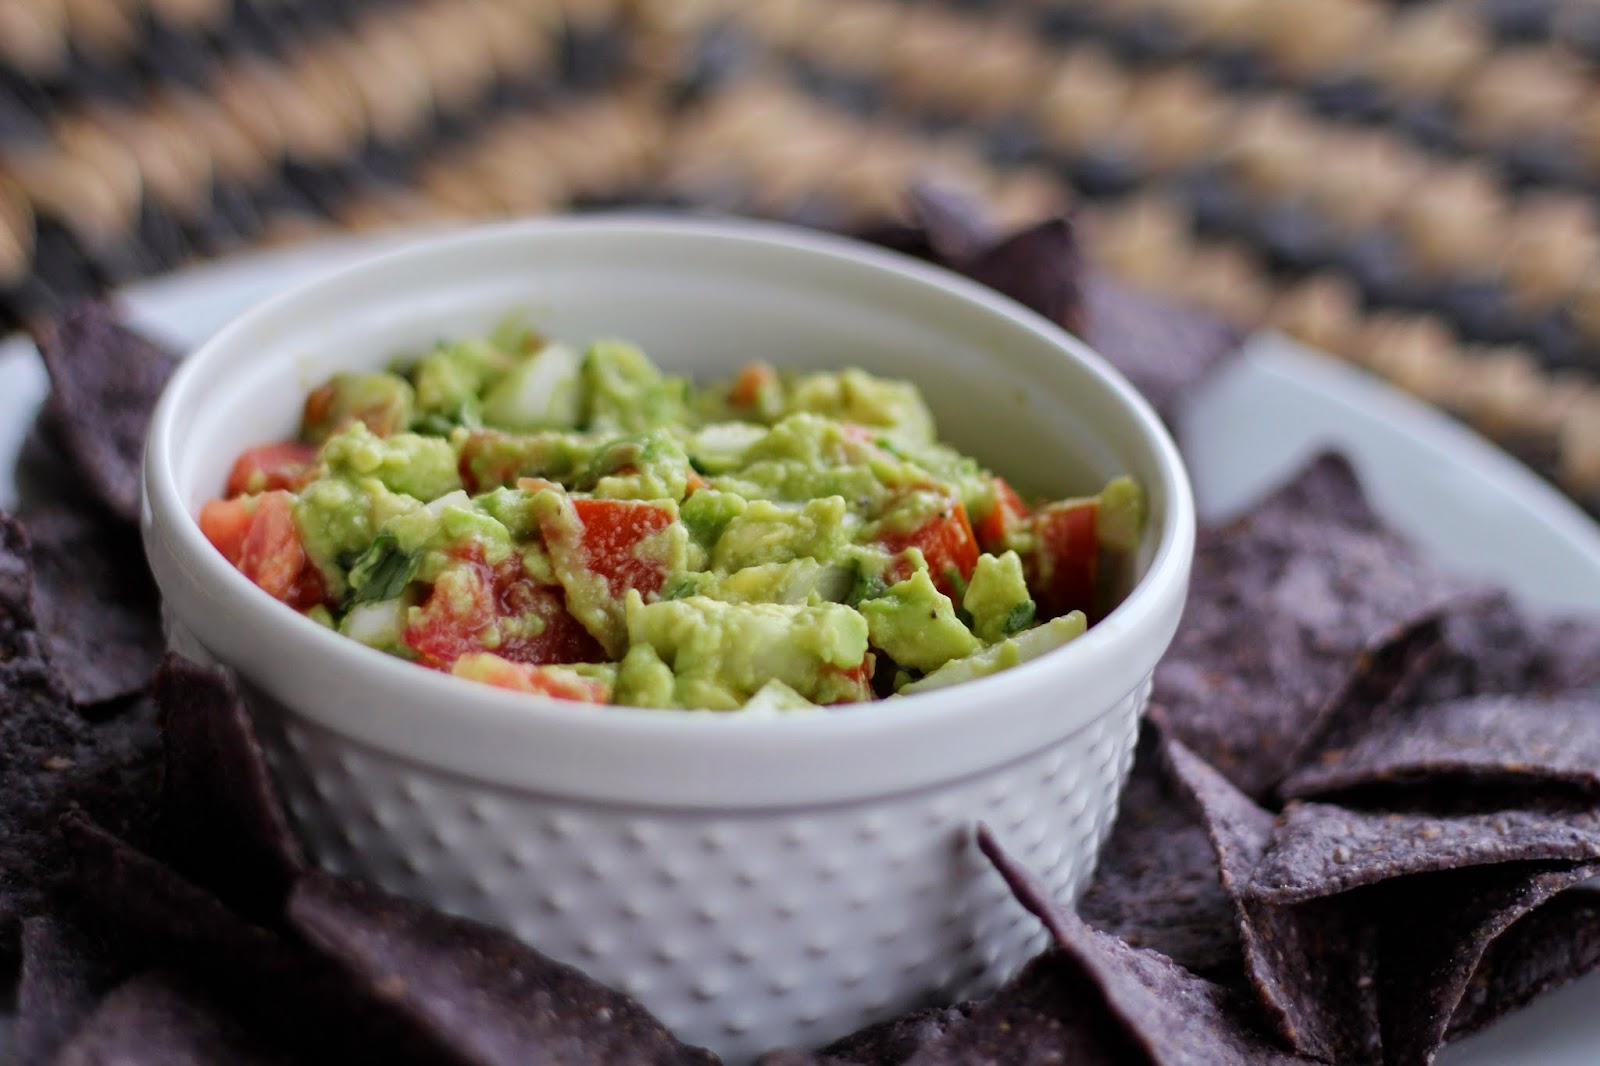
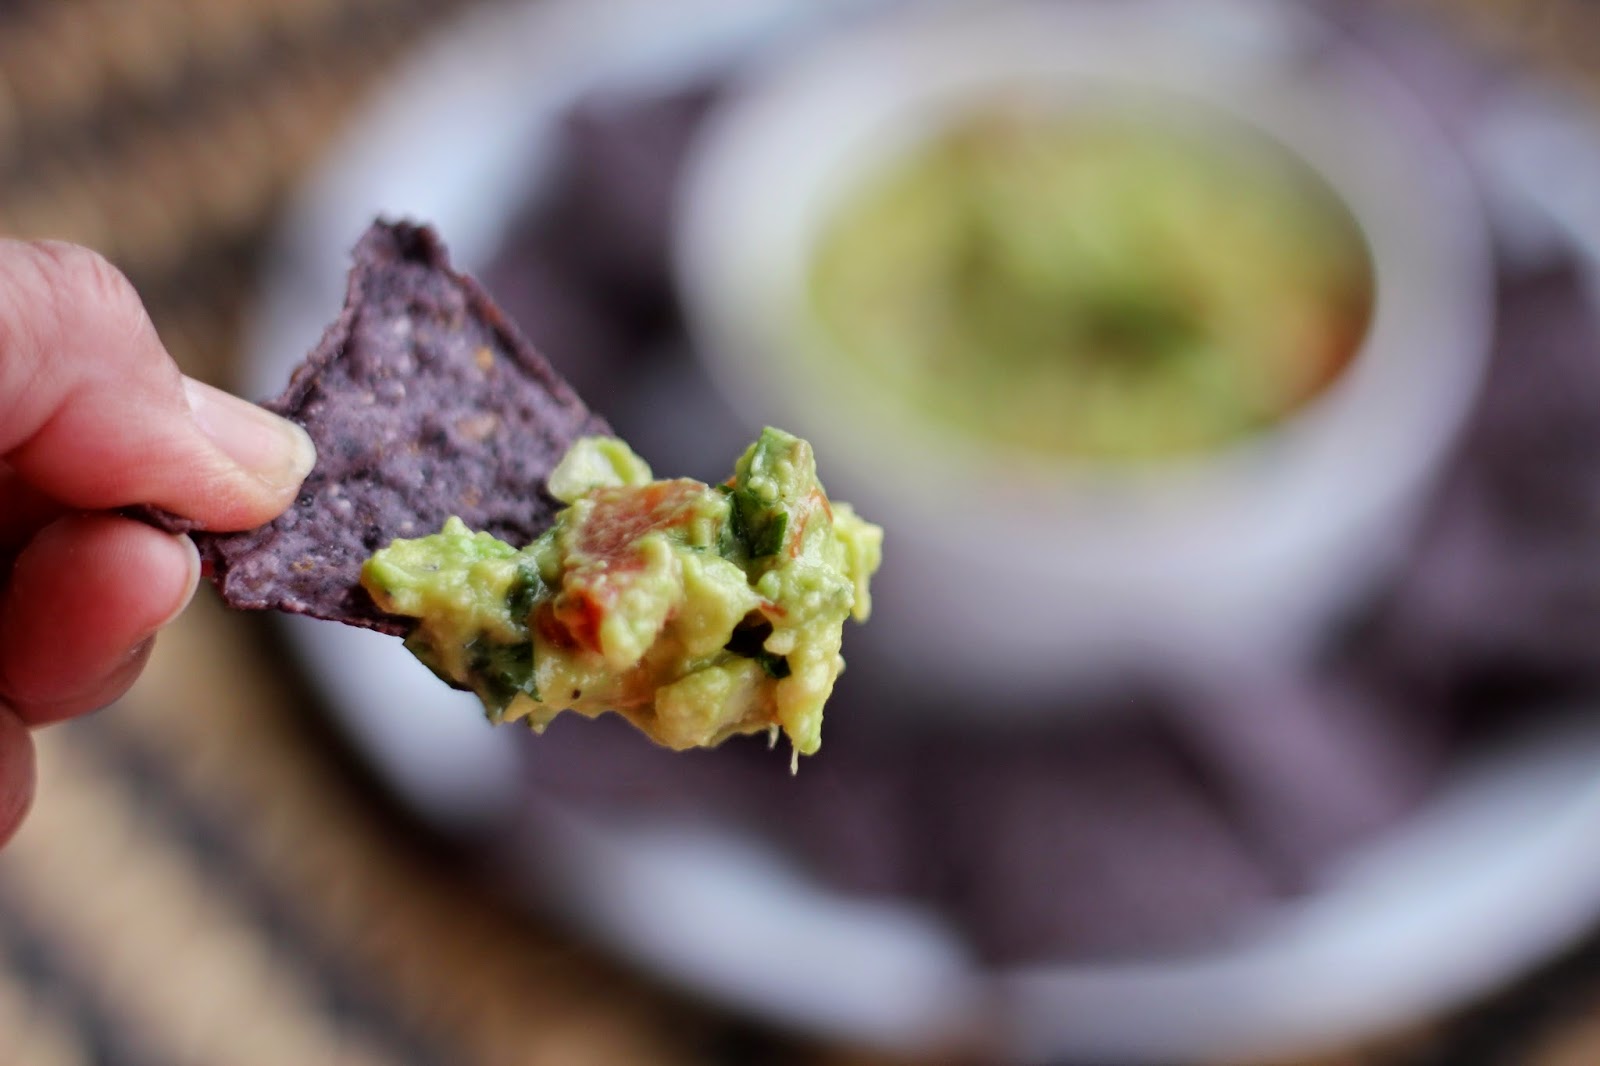
ABK's Ultimate Chunky Guac


When we traveled to Mexico a few weeks ago I was in heaven. Guac heaven. Guacamole is one of those items I can eat morning, noon and night. By the end of the week, the boys were saying NO MORE GUAC! But the girls, Grant and I were happy to slather it all over our morning eggs and breakfast quesadillas on our way out of town and back to the good old USA.
I usually just mash the avocado, add some lime juice, salt and garlic. It's one of my favorite lunches. When I have a few more minutes, I love this dressed up version. It includes so many flavors I love- all in one wonderful bite.


This recipe is perfect for watching games, family gatherings and all types of parties.
The ultimate guac?
This is it.


ABK's Ultimate Chunky Guac
A Bountiful Kitchen
print recipe

4 ripe avocados
one juicy lime
1 large firm Roma tomato, chopped (if juicy, seed the tomato)
1/2 red pepper, chopped
1/2 of a medium white or sweet onion, chopped
1/2 cup cilantro, chopped coarse
1/2 jalapeño, seeded and minced (more or less, depending on heat level desired)
1 large clove garlic, minced
coarse sea salt
fresh ground pepper

Scoop the avocado out of the skin into a medium size bowl and discard the pit.  Squeeze the juice of the lime over the avocado. Mash the avocado with a fork into large chunks. Place the chopped red pepper, onion, cilantro, jalapeño and garlic into the bowl. Mix gently. Season to taste with sea salt and fresh ground pepper.
Serve immediately, or to keep from browning, spread the mixture evenly in a small bowl using a spatula or the back of a spoon. Press a piece of plastic wrap firmly against the surface of the guac, leaving no room for air to collect. Place in refrigerator until ready to eat. when ready to eat, remove about 15-30 minutes before serving and let sit on counter. Remove plastic wrap , scoop into serving bowl and serve.


8/13/14

Margherita Pasta (updated)


It's summer and if you're like me, you're thinking of every way to avoid turning on the oven, but not eat a sandwich or salad. Again. You're in luck. This recipe involves the stove, but only for a few minutes.
I originally posted this recipe in 2010, but have updated it a bit. Spaghetti Margherita is a simple and straight-forward dish. While the pasta is cooking, you can throw together the sauce.

Some people think- Margherita Pasta? Is that alcoholic? The answer is no. Legend (some question this) says that Pizza Margherita was created in the late 1800's, and named for Queen Margherita to reflect the colors of the Italian flag. The pasta variation followed.

I know I say this all of the time, but EVERYONE loves this dish. When I make it for my boys, they love it, even though it isn't a meat dish. Now that's saying something. Since they have never jumped aboard the "meat is not all that good for you and you should eat it sparingly" train.
Lazy summer days mean lazy summer nights.
This dish fits perfectly with that theme.


Spaghetti Margherita (updated 8/2014)
A Bountiful Kitchen
print recipe

3/4 lb. spaghetti, cooked "al dente", drained
¼ cup extra virgin olive oil
2 tablespoons butter (optional) optional, but highly recommended for flavor
1-2 cloves garlic, minced
2 lbs. Roma tomatoes (about 10-12) coarsely chopped or grape tomatoes
1 cup fresh basil leaves, chopped
1 teaspoon salt
1 teaspoon sugar
1 teaspoon fresh ground pepper
1/2 lb. fresh mozzarella, cut into 1/2 inch cubes
½ cup grated Romano or Parmesan cheese
additional basil leaves for garnish

Cook pasta. Set aside, or while pasta is cooking prepare sauce.
In large skillet, heat oil and butter over low heat. Saute the garlic until fragrant over low heat, about 1 minute. Add tomatoes, sugar, salt and pepper. Cover and cook for 10 minutes. Add basil, and pasta to pan with tomatoes. Cook for 2-3 minutes, just until all pasta is heated through. Just before ready to serve, pour into serving bowl, toss with fresh mozzarella and grated cheese. Serve at once with additional grated cheese, and more fresh basil if desired.
Serves 4 as a main dish, 6 as a side.

Tips:
-Fresh Mozzarella differs from mozzarella that is sold in most cheese cases at grocery stores. Some grocery stores, such as Harmons in Utah, make their own fresh mozzarella daily.
Make sure you are purchasing fresh mozzarella for this dish. Fresh Mozzarella is made from whole milk in small batches, usually round in shape and surrounded in liquid.
-If you aren't growing basil in your back yard, you can purchase fresh basil at farmers markets, grocery and garden stores. One plant will yield fresh basil for several recipes this summer.

5/1/14

Kale, Radish and Roasted Corn Salad with Parmesan Crisps- Mother's Day 2014 Menu


Hi friends.
Today is  the first recipe in our 2014 Mother's Day Menu.
Get excited.
Have you ever been to Red Butte Cafe in SLC?
Last  summer I went to Red Butte for lunch and ordered the salad of the day. The server promised I'd love it. He was right. I'm not usually a raw kale fan. When I asked the server why the kale was so tender he told me the chef actually massages the greens. Uh. What? Massaging the produce? He claimed that massaging the kale leaves breaks down the fibers, therefore producing a more tender leaf in the salad.  I took some notes from my new found friend and server, and was determined to create my own version of this salad at home.
Because the greens are so firm, the salad keeps well in the fridge and it's perfect for make-ahead. You can make this on Saturday and serve it on Mother's Day. Just re-toss, and add a little more dressing if needed, and top with a few Parmesan crisps.
Mom is going to love it.


Kale, Radish and Roasted Corn Salad with Parmesan Crisps
A Bountiful Kitchen

Salad:
5-7 oz kale, washed, dried (I used a little over 1/2 of a 10 oz bag)
1 bunch, or about 5-7 medium sized radishes
1 large ear fresh corn or about 1 1/2 cups frozen corn
1 cup grated Parmesan cheese, or more if you would like to have a few extra chips

Dressing:
1 cup canola oil
1/4 cup cider vinegar
2 tablespoons fresh lemon juice
1-2 clove of garlic, minced
1-2 teaspoons sugar (to taste)
1 teaspoon salt
1 teaspoon pepper

To make the dressing:
Mix all dressing ingredients with a blender or immersion blender. Taste and add more salt, pepper or sugar as needed. Set aside. Note- you will not use all of the dressing on this salad.

To make the salad:
Wash the radishes, trim off the ends, slice thin. 
Cut the corn off of the cob. Spread on a cookie sheet and drizzle with 1 tablespoon of olive oil. Salt and pepper generously. Roast at 450 degrees for 10 minutes. Let cool. 
Place the kale in a medium size bowl and add about 1/3 cup of the dressing. You may use food handlers gloves for the next step. Work the dressing into the salad with your hands (give the kale a good massage :) This takes about 2 minutes.  Add the radishes and corn when you are finished massaging the dressing into the kale. 

To make the Parmesan crisps:
Heat a pan over medium high heat.  Do not grease the pan. Place piles of grated Parmesan cheese on the hot pan or griddle until the cheese melts and begins to brown on the bottom. Flip to the other side and cook until golden on the opposite side. When cooked to light golden brown on both sides, remove and let cool in single layer on a cooling rack or cookie sheet. 

To assemble the salad:
Add more dressing to the kale mixture if needed. Toss. Add Parmesan chips just before serving. 

Serves 8 as a side salad

Tips:
-This is a very simple salad. If you roast the corn while making the Parmesan crisps, you will be able to put this salad together in about 20 minutes (or less).
-The dressing is one of my favorites, it goes well on several different types of salad and would make an excellent dressing for any pasta and vegetable salad.