Showing posts with label dessert. Show all posts

6/1/15

Classic Chocolate Mayonnaise Cake


Did I tell you about my best Mother's Day gift, EVER?! Last month, just before Mother's Day, our second grand baby arrived! Little Lyla entered the world on May 6, 2015.  I was able to run out to CA and help welcome her into the world in between Jake's baseball games.
While I was there, I mostly snuggled with Ani and baby Lyla, and cooked as much as possible.  I wanted to leave meals ready to heat up in the fridge and freezer for the weeks after I left. Besides cooking meals, we also did a little baking: brownies, cinnamon rolls, dinner rolls and Classic Chocolate Mayo Cake!

This is a little celebration we had for Big Sister...

Baby sister taking a little nap while big sister parties. 

I get a baby sister and a new doll?? Good deal. 

Ani is pretty excited about this gift  becoming a big sister. 

Every partay needs a cake.


I told Ani to put her face next to the cake...

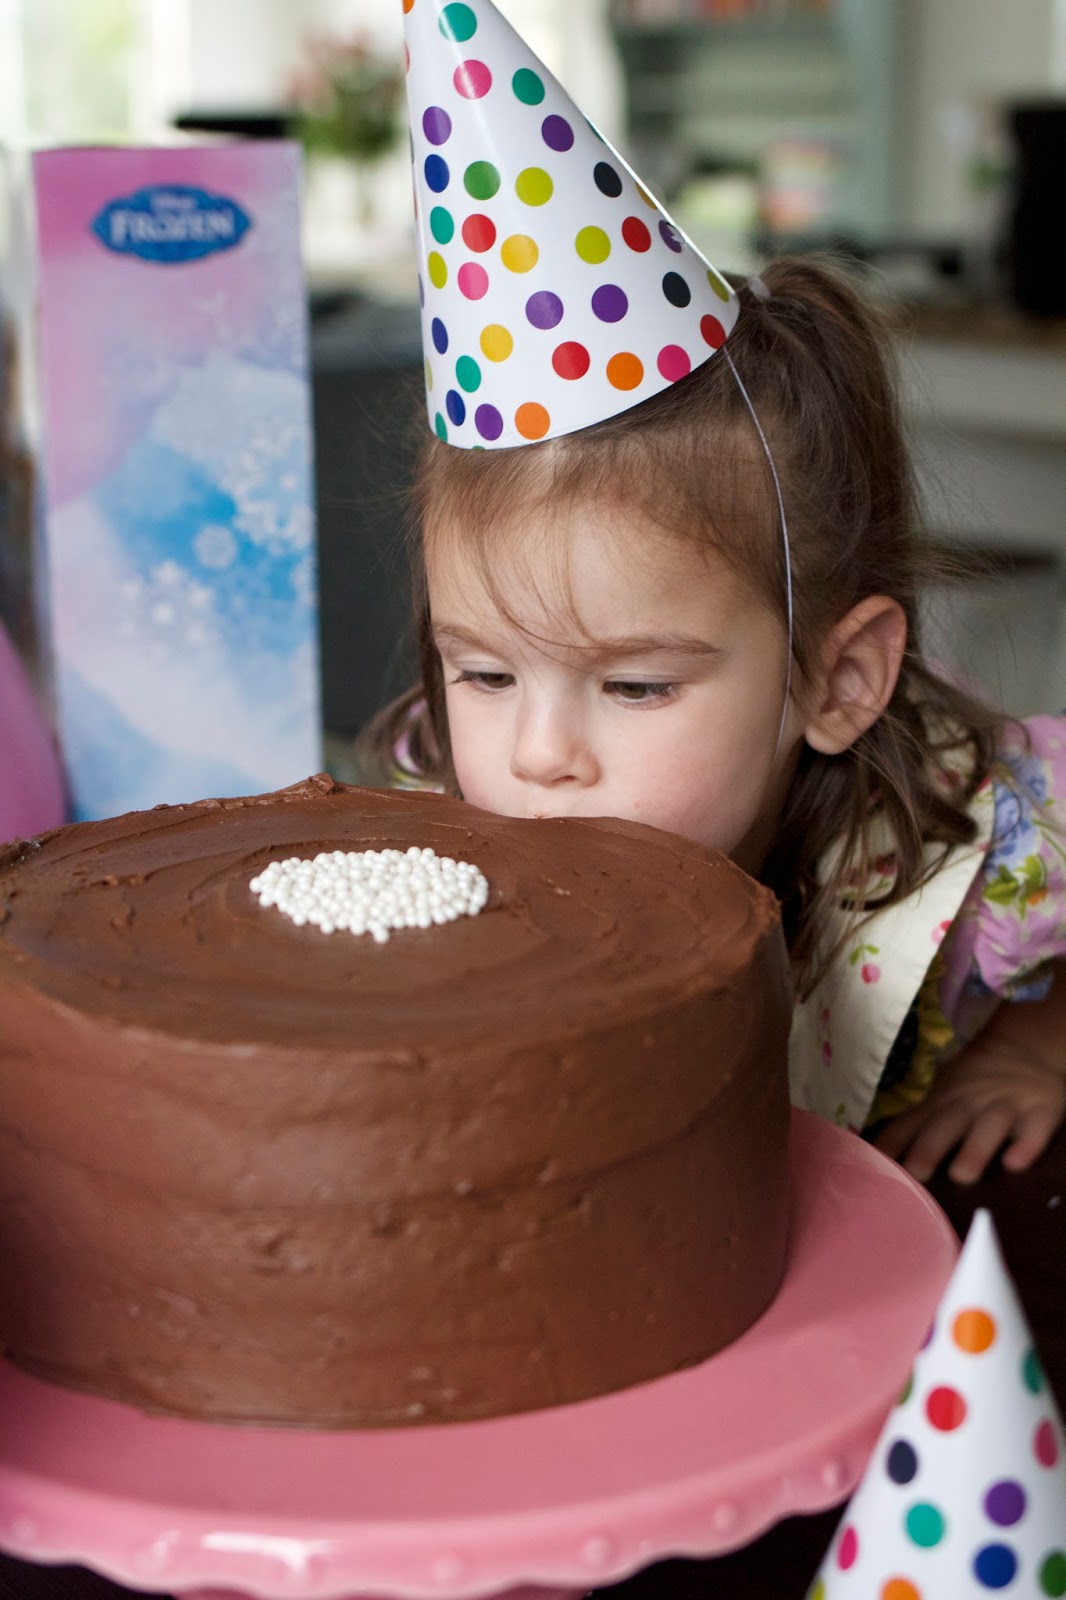
OOPS. Face next to the cake. Not on it. 

Try to crop out the bite out of cake. 


If you've been following ABK from the beginning of time, you know my go-to chocolate cake is Laurie and Amy's Amazing Chocolate Cake.  It's dense and has amazing deep, dark chocolate flavor. The Classic Chocolate Mayo Cake is very similar in taste, but not quite as dense as Laurie's cake. This cake uses mayo in place of butter or oil.  The result is a cake with texture similar to a box cake mix, but so much better.
And you can pronounce all of the cake ingredients.
Always a bonus.
Oh, and did I mention MOIST??!!  The mayo makes this cake incredibly moist. This cake is perfect for June celebrations- graduation, Father's day and birthdays. It can be made in two round 9 inch pans or three 8 inch pans.
If you haven't ever made a chocolate mayo cake,  I'm willing to bet your mother has. Give this one a try. It's simple and mixes up in just a few minutes. It's one of those recipes your kids will ask you to make for birthdays. And your family will ask you to make for every gathering.
It's that recipe.
Happy baking!


Classic Chocolate Mayonnaise Cake
adapted slightly from Epicurious

Cake:
2 ounces bittersweet chocolate (do not exceed 61% cacao), chopped
1 cup unsweetened cocoa powder
1 3/4 cups boiling water
2 3/4 cups all purpose flour
1 1/4 teaspoons baking soda
1/4 teaspoon baking powder
1 cup sugar
1 cup (packed) dark brown sugar
1 1/3 cups mayonnaise (do not use reduced-fat or fat-free) Best Foods or Hellman's
2 large eggs, room temperature
2 teaspoon vanilla extract

you will need-Three 8-inch-diameter cake pans with 1 1/2-inch-high sides or two 9 inch pans.

Preheat oven to 350°F set rack on middle rack of oven. Butter and flour three 8-inch-diameter cake pans with 1 1/2-inch-high sides, or two 9 inch pans. Combine chopped chocolate and cocoa powder in medium bowl. Add 1 3/4 cups boiling water and whisk until chocolate is melted and mixture is smooth.
Sift flour, baking soda, and baking powder into another medium bowl. Set aside.
Using electric mixer, beat both sugars and mayonnaise in large bowl until well blended, 2 to 3 minutes. Add eggs 1 at a time, beating until well blended after each addition. Beat in vanilla.
Add flour mixture alternately with chocolate mixture, beating until blended after each addition and occasionally scraping down sides of bowl. Divide batter among prepared cake pans.
Bake cakes until tester inserted into center comes out clean, 25-30 minutes. Cool cakes in pans on racks 20 minutes. Run small knife around sides of cakes to loosen. Carefully invert cakes onto racks and let cool completely.
Frost when completely cooled.

Chocolate Buttercream Frosting

1 1/4 cups butter, softened
4 1/2 cups powdered sugar
3/4 to 1 cup unsweetened cocoa powder (for dark frosting, use part Hershey's Special Dark Cocoa, about 4 tablespoons)
2 teaspoons vanilla
1/4 cup plus 2 tablespoons milk or half and half

Cream butter with electric mixer. Beat in powdered sugar and cocoa powder. Add milk and vanilla. Beat just until smooth. 
Place cake on a platter. Frost top of first layer. Place second layer on cake. Frost sides and top. Decorate with sprinkles if desired. 
Serves 10-12.

Tips:
-I baked this cake in two 9 inch round pans. It was perfect, but will also bake up nicely in three 8 inch rounds.
-Watch the cake carefully. When it is done it will spring back when touched lightly. Or you may use a toothpick and insert in center of cake. the cake is done when a few moist crumbs are attached.
-I like to freeze the cake layers before frosting. This is done after removing the cake from the pans. Wrap carefully in Saran Wrap and lay flat in freezer. When ready to frost, remove and frost. Let cake come to room temperature before cutting. Freezing the cake will make the cake easier to frost, the cake is less likely to have crumbs fall off as well.


3/13/15

ABK's Fresh Strawberry Pie


I originally posted this pie recipe back in 2009, when I was trying to find a recipe for strawberry pie made without Danish Dessert or Jello. I couldn't find one I loved, so I came up with my own version.
This recipe has just a few ingredients, and is so simple to make.


Start with fresh strawberries

Cook a few of the berries, add sugar and cornstarch

add a little strawberry jam
mix the glaze with the fresh berries

dump into the crust


It starts with a home made single pie crust, fresh berries, strawberry jam and a little sugar and cornstarch to thicken the glaze. It tastes like a strawberry pie should.
Hope you love this recipe and enjoy Pi Day tomorrow!


Fresh Strawberry Pie
A Bountiful Kitchen


1- 8 inch baked and cooled pie or tart crust
2   quarts strawberries, washed and hulled, divided
½ cup sugar
1 ½ tablespoons cornstarch
2 tablespoons strawberry jam
red food coloring
Whipping cream

Mash about 1 cup of the strawberries in a small saucepan. Add the sugar and strawberry jam. Stir to dissolve.Whisk in cornstarch, and cook over medium heat until bubbly and mixture begins to thicken, about 10 minutes. Add about 5 drops of red food coloring, stir. Set aside to cool. Cut the remaining strawberries in half and place in large bowl. After the sugared mixture is cooled, pour over the fresh strawberries, and mix gently. Pour all of the strawberries into the pie shell. Refrigerate for about 2-3 hours. Top with whipping cream.

Tips:
-Use the freshest strawberries you can find, without bruises or discoloration.
-Serve pie with in about 6 hours of assembling if possible.
-You may use either a single pie crust or a tart shell.
-Keep refrigerated until ready to serve.
-Don't forget the whipped cream. Seriously essential.


2/5/15

Three Sweet Coconut Treats for Your Valentine


On my last appearance at KSL Studio5, I shared my favorite coconut treats.  We talked about why coconut is a great option for Valentines Day!


The Coconut Cream Swig Cookie is always a hit. Made with coconut flavoring, sour cream and topped with a sweet cream and coconut frosting. It's a coconut lover's dream cookie. 


Nan's Coconut Cake made with a cake mix, sour cream and coconut milk. So moist it stays fresh in your fridge for daaaaaays. Better the second day, when all the flavors have a chance to combine. There's not an easier treat to make for your sweetheart!


And last, but not least, the Joyous Almond Cookie. Made with coconut, chopped whole almonds, chopped Almond Joy Bars and chocolate chips. Moist, chewy, loaded with everything in an Almond Joy bar, stuffed into a cookie. Then dipped in dark chocolate and sprinkled with coconut.  Probably one of the best cookies I've ever eaten.
End of story.


12/8/14

Christmas Shortbread Toffee Cookies


It's time. Christmas is a little over two weeks away.
Time to get your baking game on.
What's better than toffee? How about a cookie that looks like toffee.
If you're a shortbread fan, you're going to love this cookie. Instead of individual cookies, it's made in a jelly rolls pan and then the pieces are broken off to look like toffee. If you like, you can cut it into neat little squares. It keeps for a couple of weeks in the fridge or on the counter tightly wrapped in a container.  I loved it wrapped up in a little box with tissue. Perfect for gift giving. Oh, and did I mention, it takes about 30 minutes, start to finish.  That's less time than it takes to run to the store and buy a gift box of chocolates.
And you can stay in your jammies. Really now.
Get baking.


Christmas Shortbread Toffee Cookies
A Bountiful Kitchen
print recipe

1 cup butter, room temperature
3/4 cup brown sugar, packed
1/3 cup cornstarch
2 cups flour
1 teaspoon salt
1 teaspoons vanilla
2 cups chopped pecans or walnuts
2 cups chocolate chips , milk or semi sweet

Pre heat oven to 350 and place rack in center of oven.
Beat butter and brown sugar until combined. Add cornstarch, flour, salt, vanilla and one cup chopped nuts. Mix just until combined.
Press mixture into a greased jelly roll pan or other large cookie sheet, the dough should measure about 12x14 in the pan. I used a small floured rolling pin to spread the dough evenly once it was patted out in the pan.  Then I formed the edges of the dough with my hands.
Bake for about 20 minutes, or just until edges are slightly golden brown.
Remove from oven and immediately place chocolate chips on top of shortbread. Let stand for a few minutes, and then spread chocolate until cookie layer is covered. Sprinkle immediately with nuts.
Let cool until chocolate is set and cookie is completely cooled.
Break or cut up and enjoy.
Yields about 3 dozen 3-inch pieces.


Tips:
-You may set the pan in the fridge to cool faster.
-If you are storing for later use, and want to remove from pan, layer the pieces with wax or parchment paper in between.


11/4/14

Our Favorite Pumpkin Pie


Notice how this pie edge is different from the one above?
I was in a hurry when I made this pie, so I just pressed the edge of the dough down
with a fork and called it good


For years, I made pumpkin pie that turned out a bit runny in the center.  No matter how long I baked the pie, it was still WET, not set.  One year, I set out to solve the problem once and for all. We live at a high altitude (about 4400 feet) so I'm sure that has something to do with the not completely set-up center of my pumpkin pies.


Do you like the P I E letters? My dear friend Mel,  lover of all things PIE,
made these for me last year for my birthday


I like the flavor of the Libby's Pumpkin Pie recipe, found on the back of the Libby's can of pumpkin. Yes,  I've tried fresh pumpkin- cooked, but like the texture, flavor and color of Libby's better.  I found after several adjustments to their recipe, this one works time and time again. No jiggly middle. Just a nice bite of lightly spiced pumpkin filling in every bite.
Everyone needs a good pumpkin pie in their repertoire of holiday favorites. This is my tried and true, never fail recipe. Hope you love it.
Happy baking!


Our Favorite Pumpkin Pie
A Bountiful Kitchen
print recipe

1 1/2 cups granulated sugar
1 teaspoon salt
1 tablespoon pumpkin pie spice, OR  2 teaspoons cinnamon, 1 teaspoon ground ginger, 1/2 teaspoon ground cloves*
4 large eggs
1 29 oz can pure pumpkin (NOT pumpkin pie filling)
20 oz evaporated milk (canned)
1 teaspoon vanilla
2 unbaked pie crusts* (4 cup volume each)

Place oven rack on bottom third of oven and turn oven to 425 degrees.
Mix sugar, salt, pumpkin pie spice and eggs together in large bowl for about 2 minutes, or until blended well. Add pumpkin, mix well until smooth and incorporated. Add canned milk and vanilla. Make sure all ingredients are mixed together well.
Pour into two 9- inch prepared pie crusts.
Place in oven and bake for 15 minutes at 425 degrees, then without opening oven door, reduce temperature to 350 degrees and bake for an additional 40 minutes.
The pies are done when the middle is set and no longer looks wet. you may insert a knife in the center of one pie. If the pie is done, it will come out clean.
Let cool completely before serving. May be made the day before serving.
Refrigerate if not serving the same day.
Yield two- 9 inch pies

Tips:
-You may make your own pumpkin pie spice for pennies using my recipe on this page.
-Use the extra evaporated milk in your mashed potatoes.
-The best and most simple pie crust in the world may be found here.
-Make sure to have whipping cream on hand. To make a nice swirled pile of fresh whipped cream atop your pies, spoon the whipped cream into a large ziplock bag and snip off a corner. When ready to serve, pipe the cream on top of the pie. Serve immediately.


10/21/14

Great Harvest Pumpkin Chocolate Chip Bread


I'm not usually a fan of  store bought pumpkin bread. It always tastes like a mix (because it probably is) or it is: too airy, too dry, too much like a cake. The one exception is Great Harvest Pumpkin Bread. If you've ever eaten a slice, you know that Great Harvest makes a killer loaf of pumpkin bread! I decided it was time to recreate their recipe at home.  I compared the ingredient list on the GH package to recipes online that claimed to be GH copycats. Hmmmm.  A lot of those recipes included ingredients not on the Great Harvest ingredients list. Ingredients like: honey, brown sugar, wheat flour.  All good guesses, but not accurate if you're trying to recreate the bakery version...


After several test batches, and experimenting with different temperatures of baking, amounts of flour, spices, pumpkin, and eggs,  I think I've finally nailed it.
This bread is lightly spiced, super moist, dense, and has a rich pumpkin flavor.  At over $9 a loaf (in SLC locations),  you'll be saving a few dollars and your house will smell great too!
Happy baking.


Great Harvest Pumpkin Chocolate Chip Bread
A Bountiful Kitchen
print recipe

4  large eggs
2 cups granulated sugar
1 1/4  cups vegetable or canola oil
1-15 oz can Libby's pumpkin (not pumpkin pie filling)
2 teaspoons vanilla
3 cups flour
1 teaspoon baking soda
1 teaspoon baking powder
1 teaspoon salt
2 teaspoon cinnamon
1 teaspoon allspice
1/2 teaspoon cloves
1 1/2 cups semi sweet chocolate chips


Place the rack in the center of the oven, and generously grease and line the bottom of two loaf pans with parchment or wax paper. Preheat oven to 325 degrees.
Place eggs in a mixing bowl. Beat for about 1 minute. Add sugar beat again for 1 minute. Add the oil, pumpkin and vanilla. Beat until all ingredients are incorporated.
Place the flour, baking soda, baking powder, salt, spices and chocolate chips into the bowl with the pumpkin mixture. Mix just until the wet and dry ingredients are incorporated.
Pour the mixture into the prepared loaf pans.
Bake for 50-60 minutes or until knife inserted in center of loaf comes out with a few moist crumbs attached.
Remove from oven. Let sit for 5 minutes in pan. Loosen sides of loaf if necessary with butter knife. Remove and cool completely.
Yields 2-3 loaves, depending on size of pans used*


Tips:
-I make a liner for the loaf pan by placing parchment or wax paper under the pan and tracing around the bottom of the pan. Cut the paper on the line. Place the paper in the bottom of the loaf pan and spray sides of pan and bottom (on top of the paper liner) generously with cooking spray.
-I bake in  4 1/2 x 8 1/2 pans. When I place the batter in the pans, they fill the pans over 3/4 full. There is about a 1/2 - 3/4 inch space to the top of the loaf pan.  This recipe will easily yield 3 smaller loaves. Adjust the baking time to 45 minutes then check to make sure loaf is set.


6/27/14

Red, White and Blueberry Tart


Are you planning a 4th of July bash?
This is one of my favorite desserts, reinvented. Remember when fruit pizza was all the rage years ago? Sweet cookie crust, with cream cheese and powdered sugar icing, topped with fruit and glaze. Sometimes the fruit was arranged beautifully, other times it was dumped on top of the crust and cream cheese layer. That was the 80's. Time to update this classic dessert! You'll love my Red, White and Blueberry Tart.


First, I headed to Harmons to buy the sweetest, most plump, fresh berries. If you live in Utah, you're in business!  Harmons consistently has the best produce in the state. With the exception of picking berries yourself, Harmons is as fresh as it gets.


How do you update a classic? I decided switching from a pizza pan to tart pans made a big difference in presentation. Other subtle, but game changing differences- a little lemon flavoring, fresh fruit only (nothing canned) and no sugary glaze.
When you break this dessert down, it's a sugar cookie crust, lemon-cream cheese icing, topped with fresh fruit. So simple, a kid can make it.
I know you're going to love this for your summer gatherings!
Happy Fourth, and happy baking :)


Red, White and Blueberry Tart
A Bountiful Kitchen

1 cup butter, softened
1 cup + 2 tablespoons powdered sugar
2 teaspoons lemon flavoring or lemon emulsion*
1 egg
2 1/2 cups flour
2 teaspoons baking soda
2 teaspoons cream of tartar
Individual tart pans or 9-10 inch tart pans

Cream together butter and powdered sugar in a large bowl. Add the lemon flavoring or emulsion and egg, beat until combined and smooth, about 1 minute.
Add the flour, baking soda and cream of tartar all at once. Mix just until flour disappears and wet and dry ingredients are combined,
Using individual tart pans (14-16  4-inch pans), or
2-3  9-10 inch or equivalent tart pans, lightly grease the pans with cooking spray.
Scoop the dough into the pans, and press into the pans lightly with hands.
If the dough gets too soft, place the dough in the refrigerator for a few minutes to help the dough firm up.
After all of the tart pans are filled, pre-heat oven to 375 and set the racks in the middle of oven.
When oven is pre heated, bake the tarts for about 10-12 minutes or until tarts are golden brown. For a
9-inch tart pan, bake about 15 minutes. Remove and set on rack to cool. Let cool completely. This step may be done up to two days ahead if kept covered after baked and cooled.

Lemon Cream Cheese Filling:
12 oz cream cheese, room temperature (1 1/2  8 oz blocks cream cheese)
1 3/4 cups powdered sugar
2-3 tablespoons fresh lemon juice
dash of salt
splash of milk (if needed to thin)

Beat all of the filling ingredients together in a large bowl until smooth and blended well. The filling should be the consistency of  frosting.
Set aside in refrigerator until ready to use. If making ahead, refrigerate and cover.  Remove from refrigerator  about 30 minutes before ready to use.

Fruit topping:
fresh blueberries
fresh strawberries
fresh raspberries

Wash and drain the fruit thoroughly before using on the tarts. If the fruit is still wet from washing, it may bleed onto the cream cheese filling. I usually wash the fruit, let sit in a colander, then place on paper towels and pat lightly.

When ready to assemble:
Spread the cream cheese filling onto the tarts using a small spatula. Spread the filling almost to the edge of the tart. Arrange the fruit on top of the filling. Place tarts in the refrigerator until ready to serve.
May be prepared early in the day and covered until ready to serve.

Tips:
-Lemon emulsion and lemon extract are found in  most bakery supply stores or stores that sell cake decorating supplies.  Do not use lemon juice as a substitute in the tart shell. Fresh lemon juice is called for in the lemon cream cheese filling only.